Watch Photography 101: Part 2 – Depth of Field, Exposure, and Staging the Shot

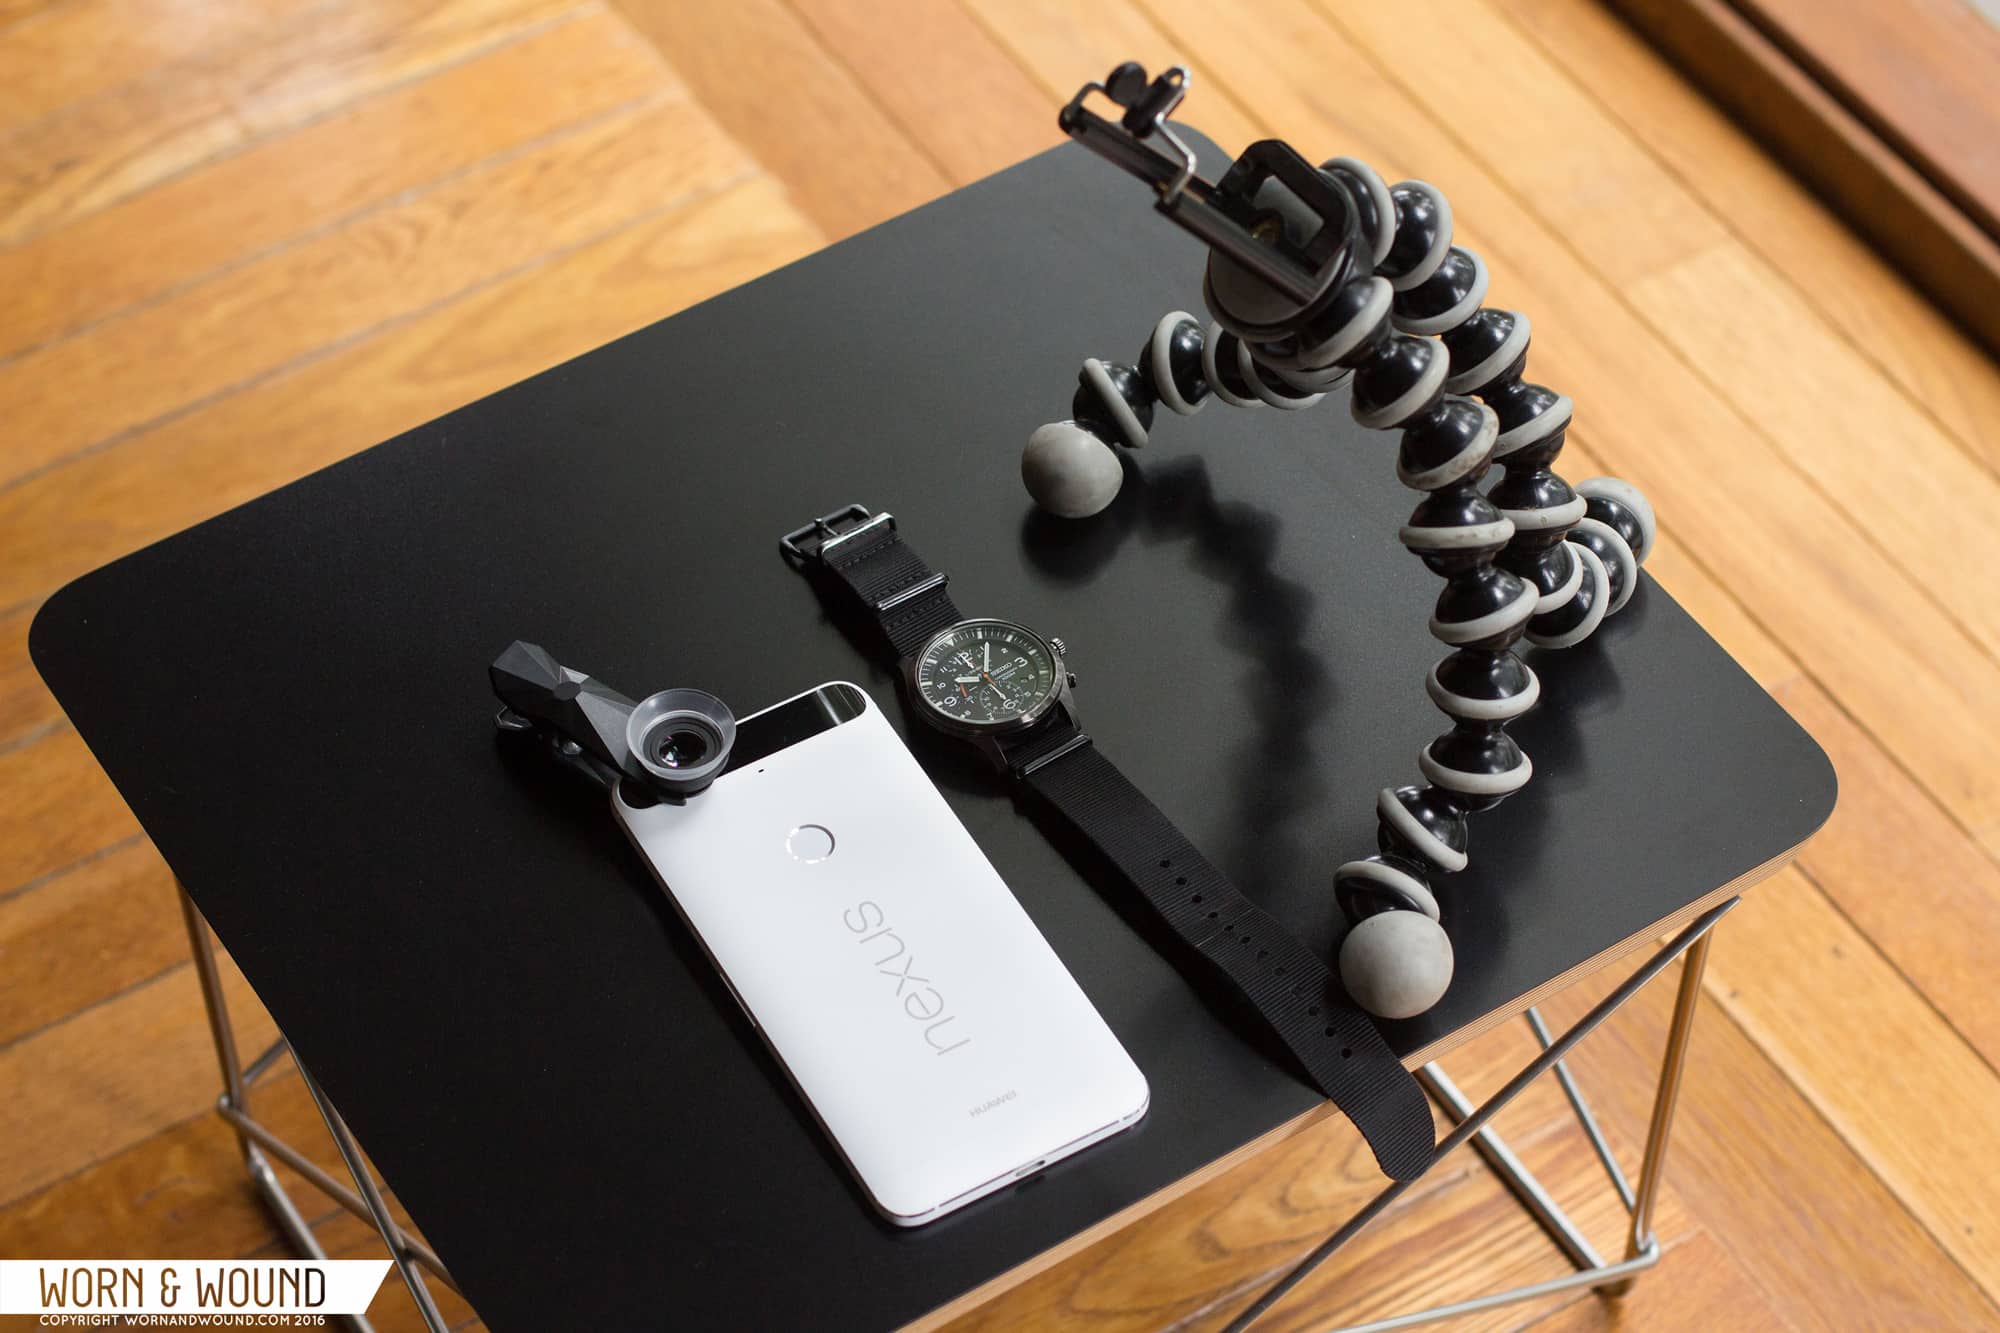
In the first installment of Watch Photography 101, Hung kicked things off with a primer on the basics of lighting. Today, we’re going to dig a little deeper and explore depth of field, exposure, macro photography and staging–things that will take your combined love of watches and photography to the next level.


Depth of Field

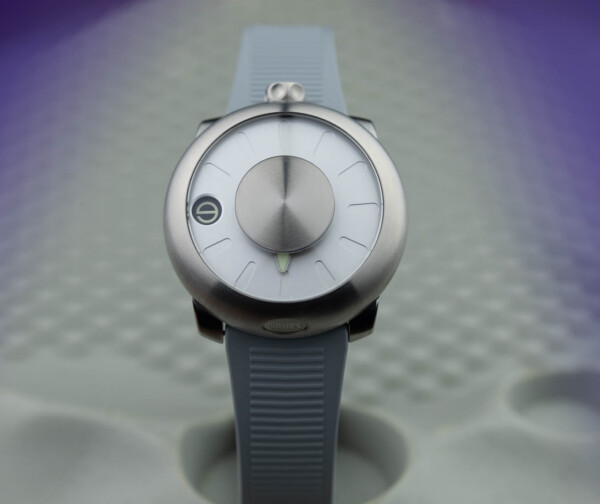
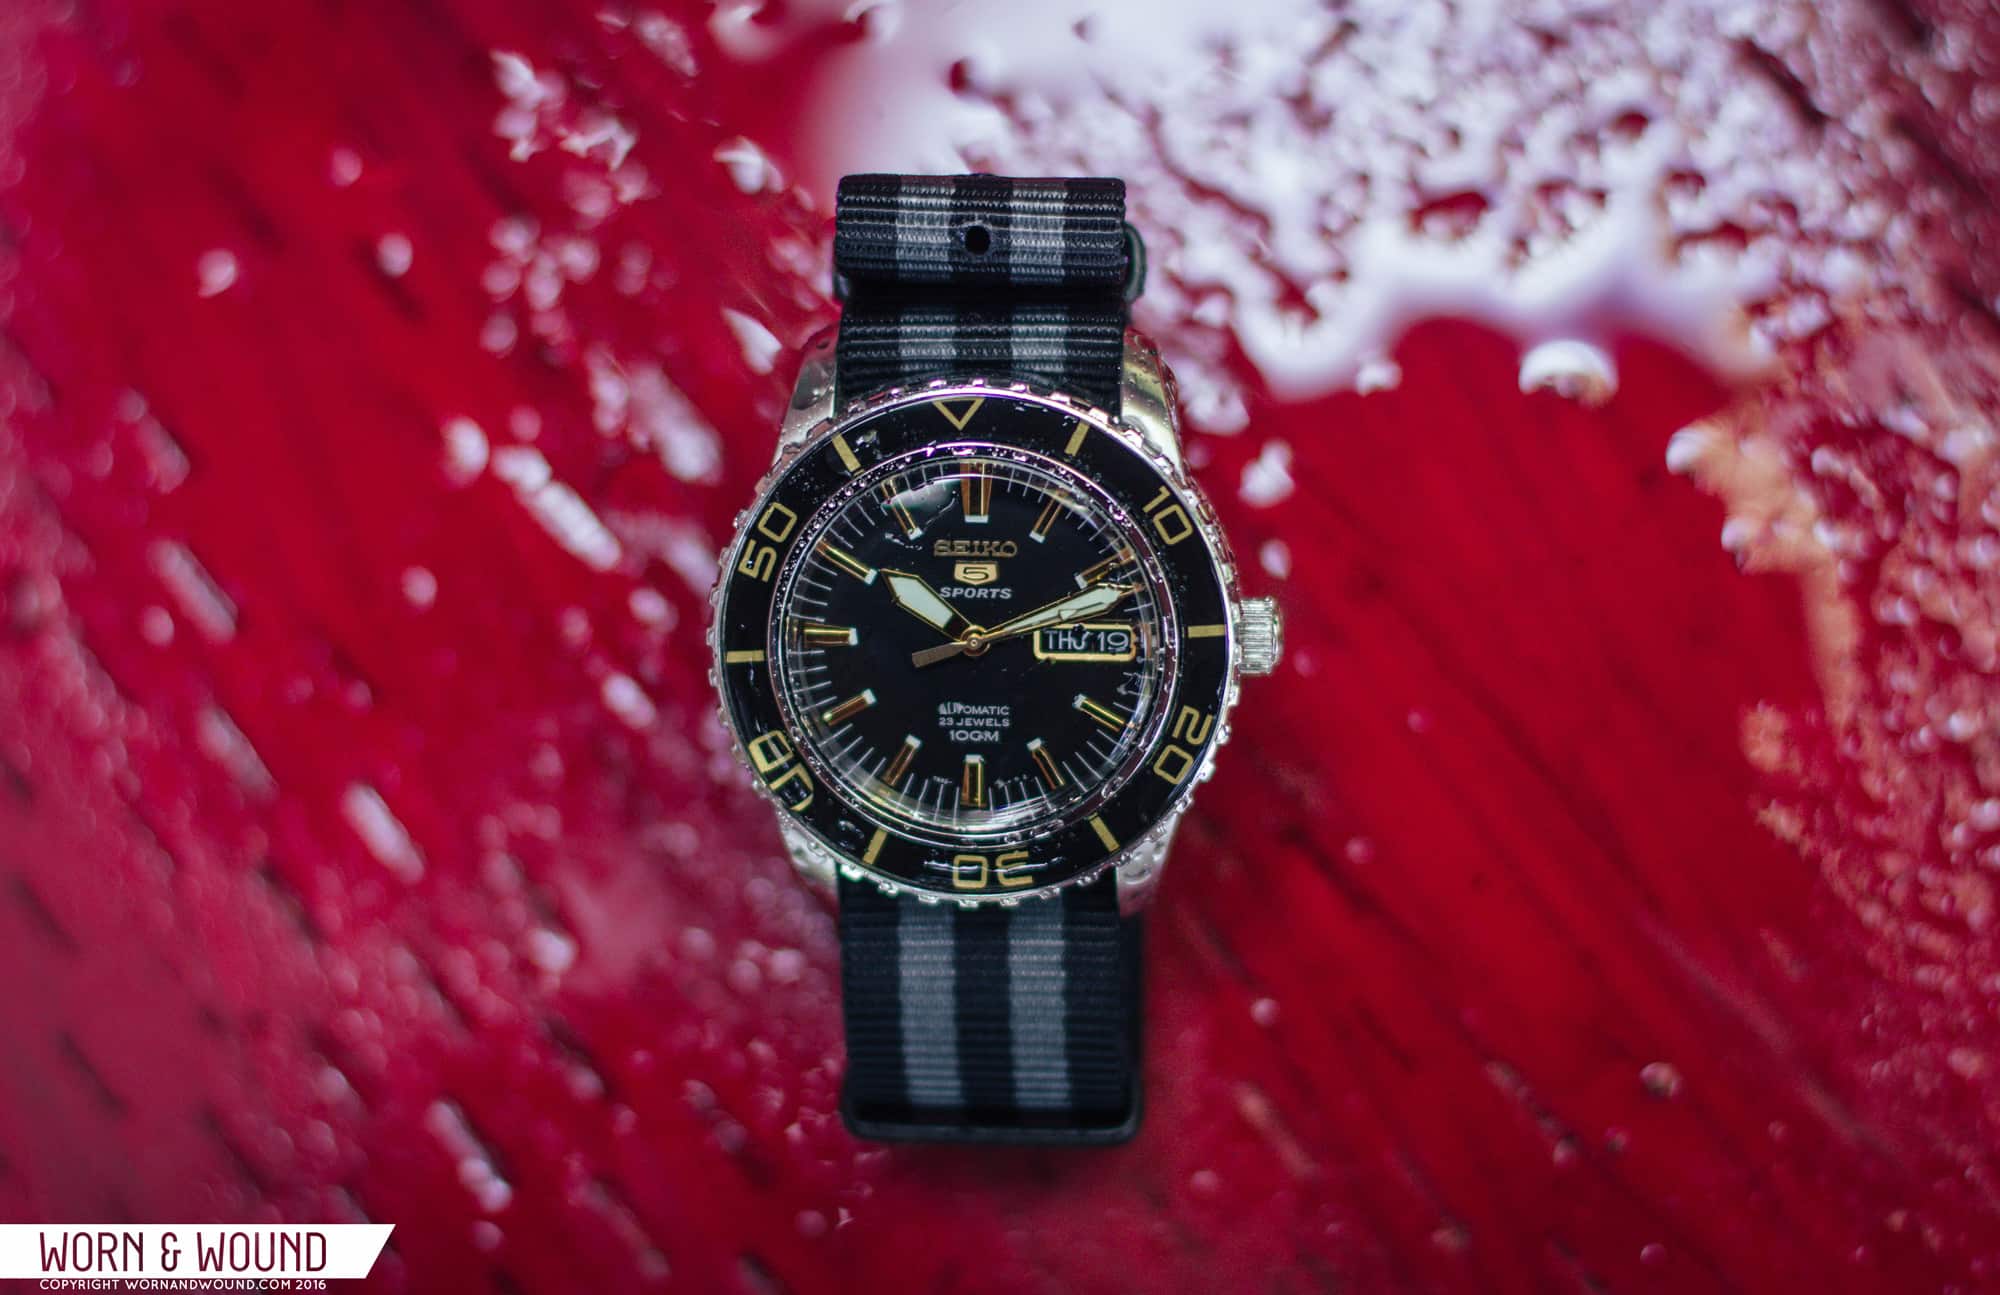
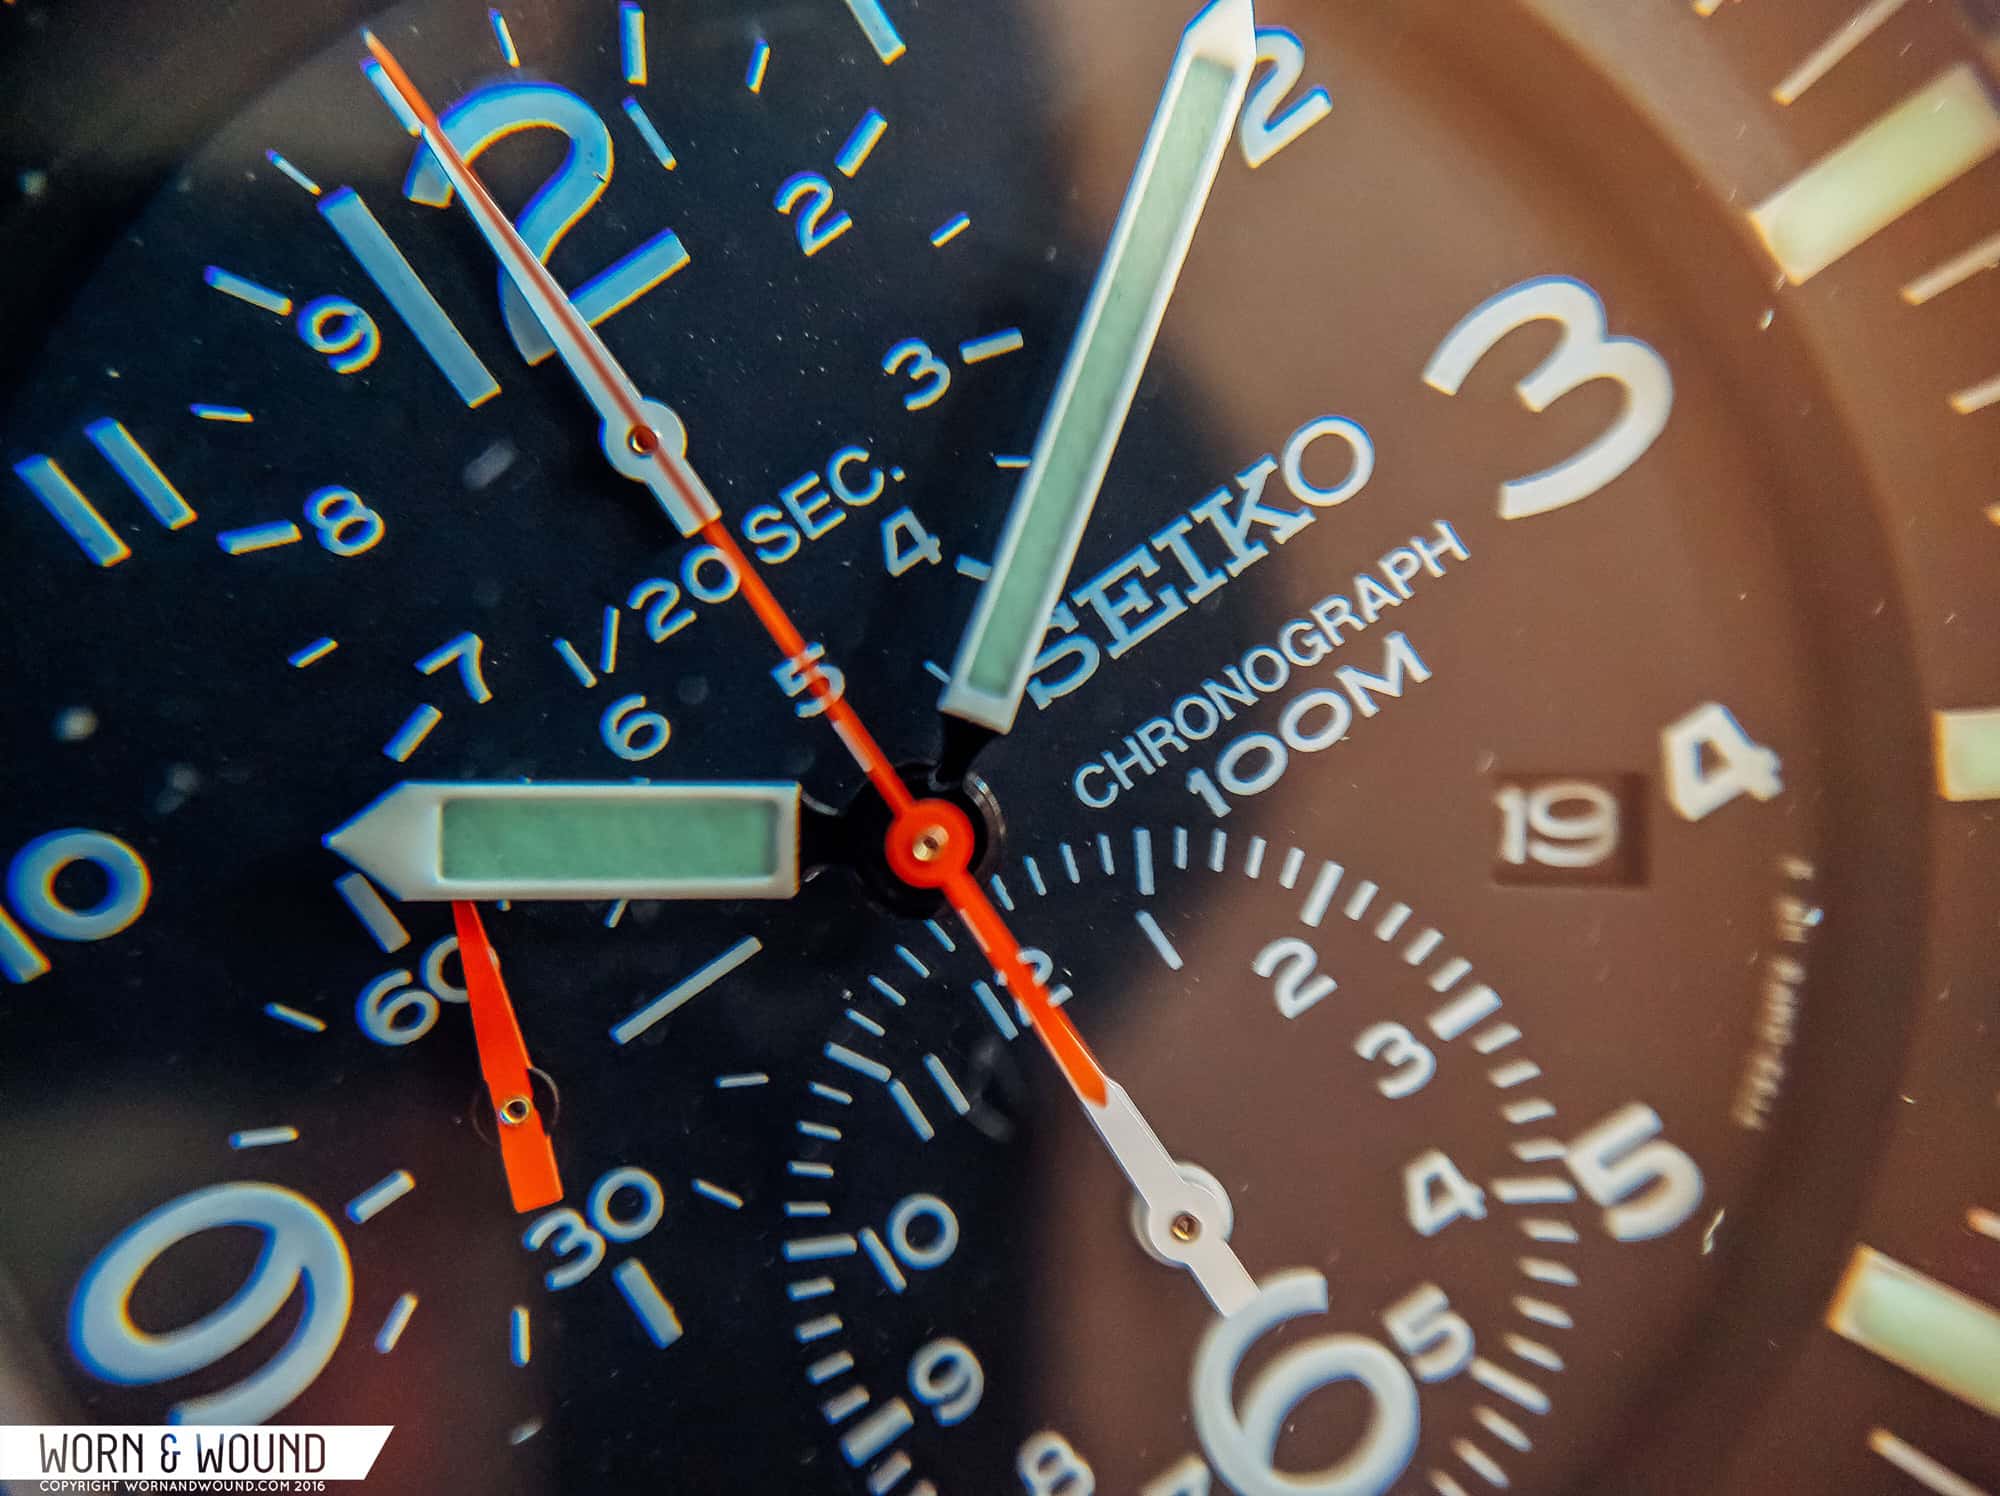
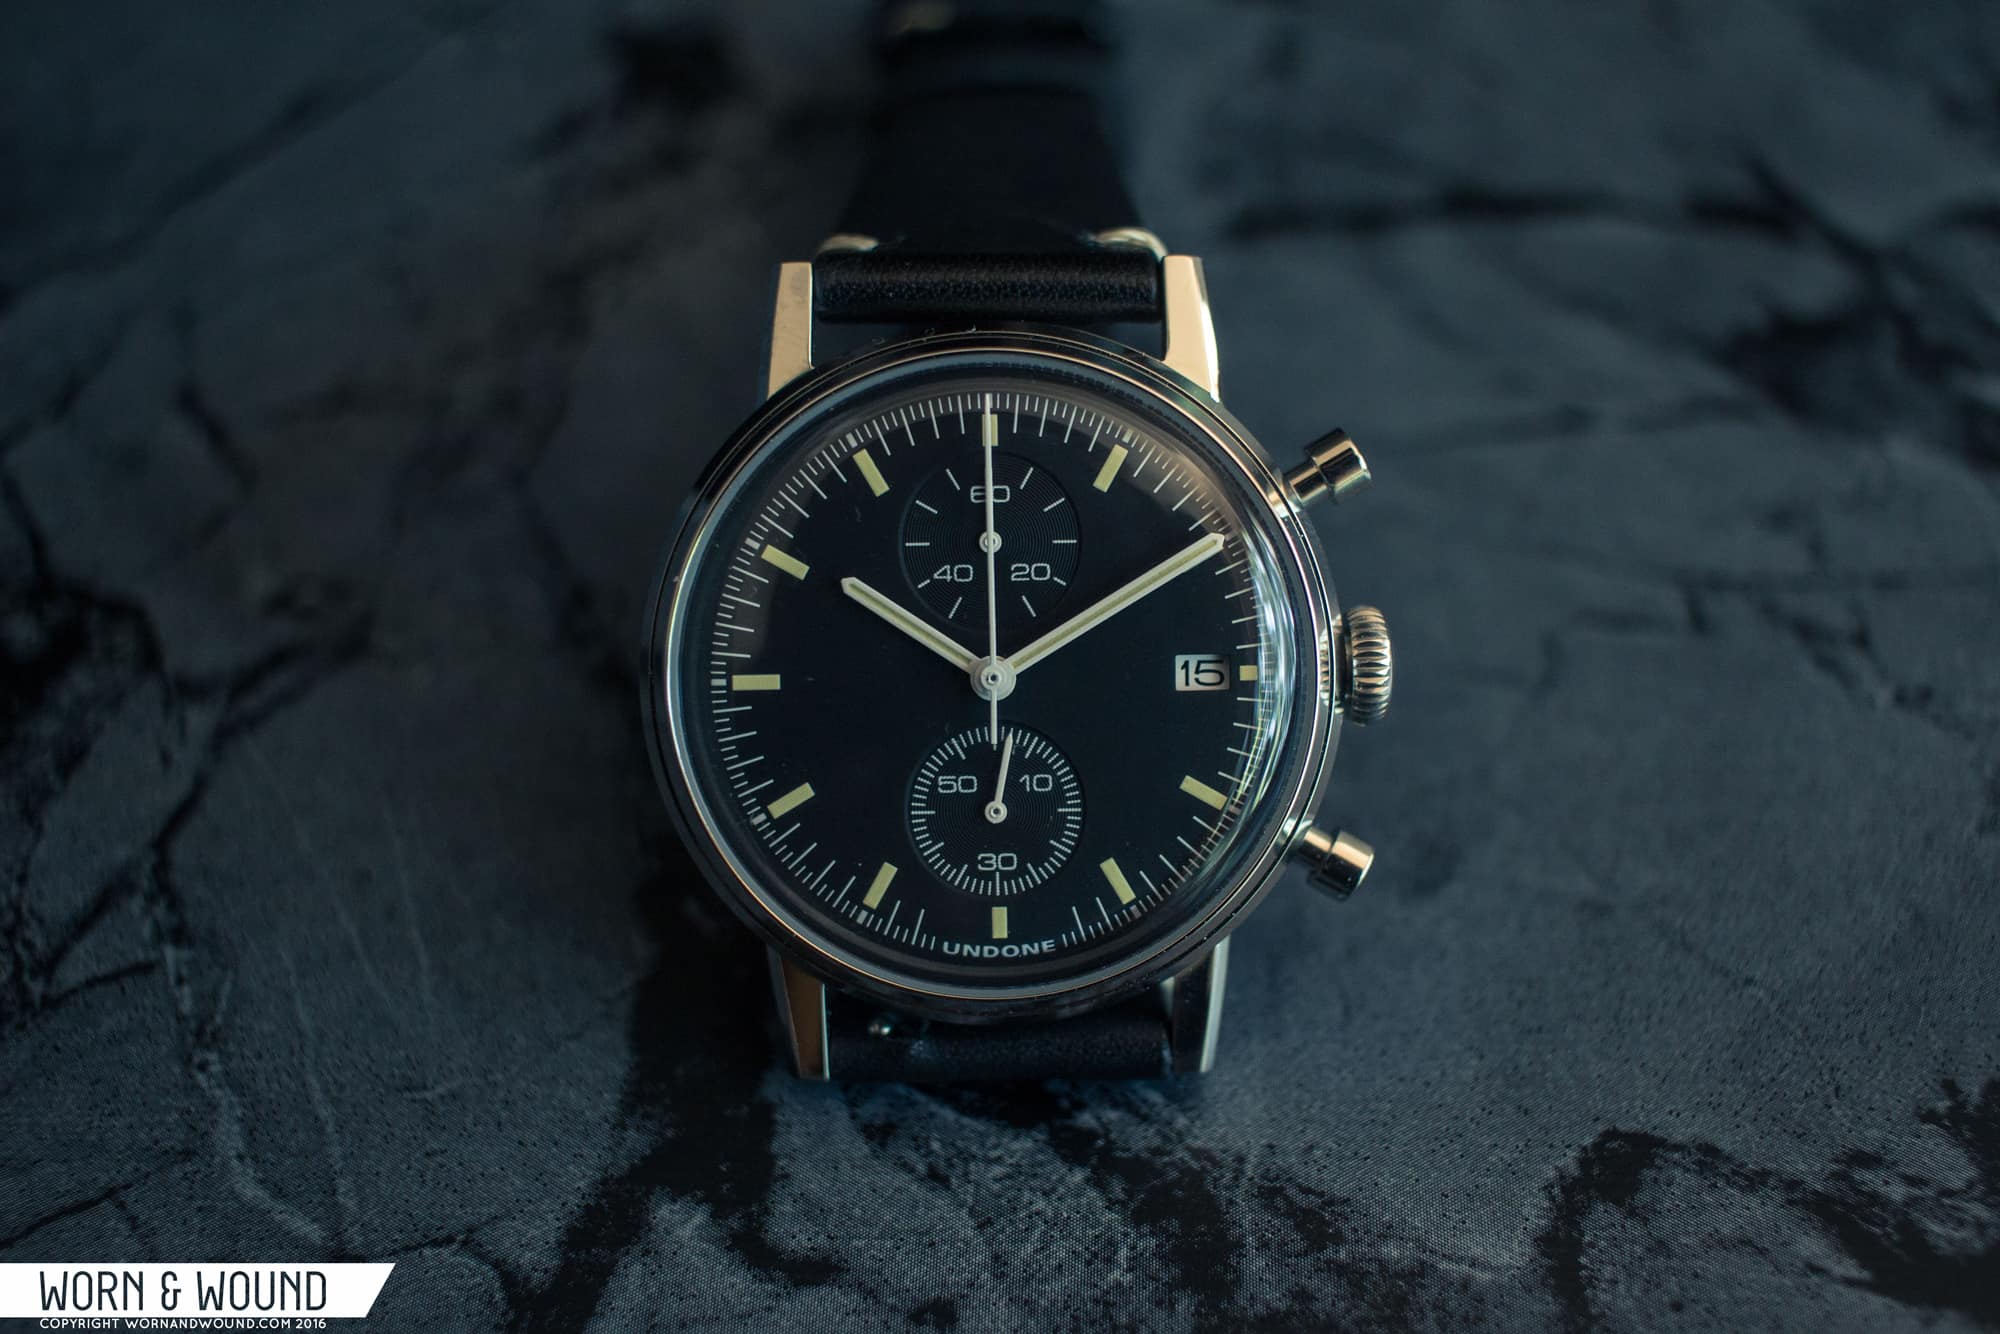
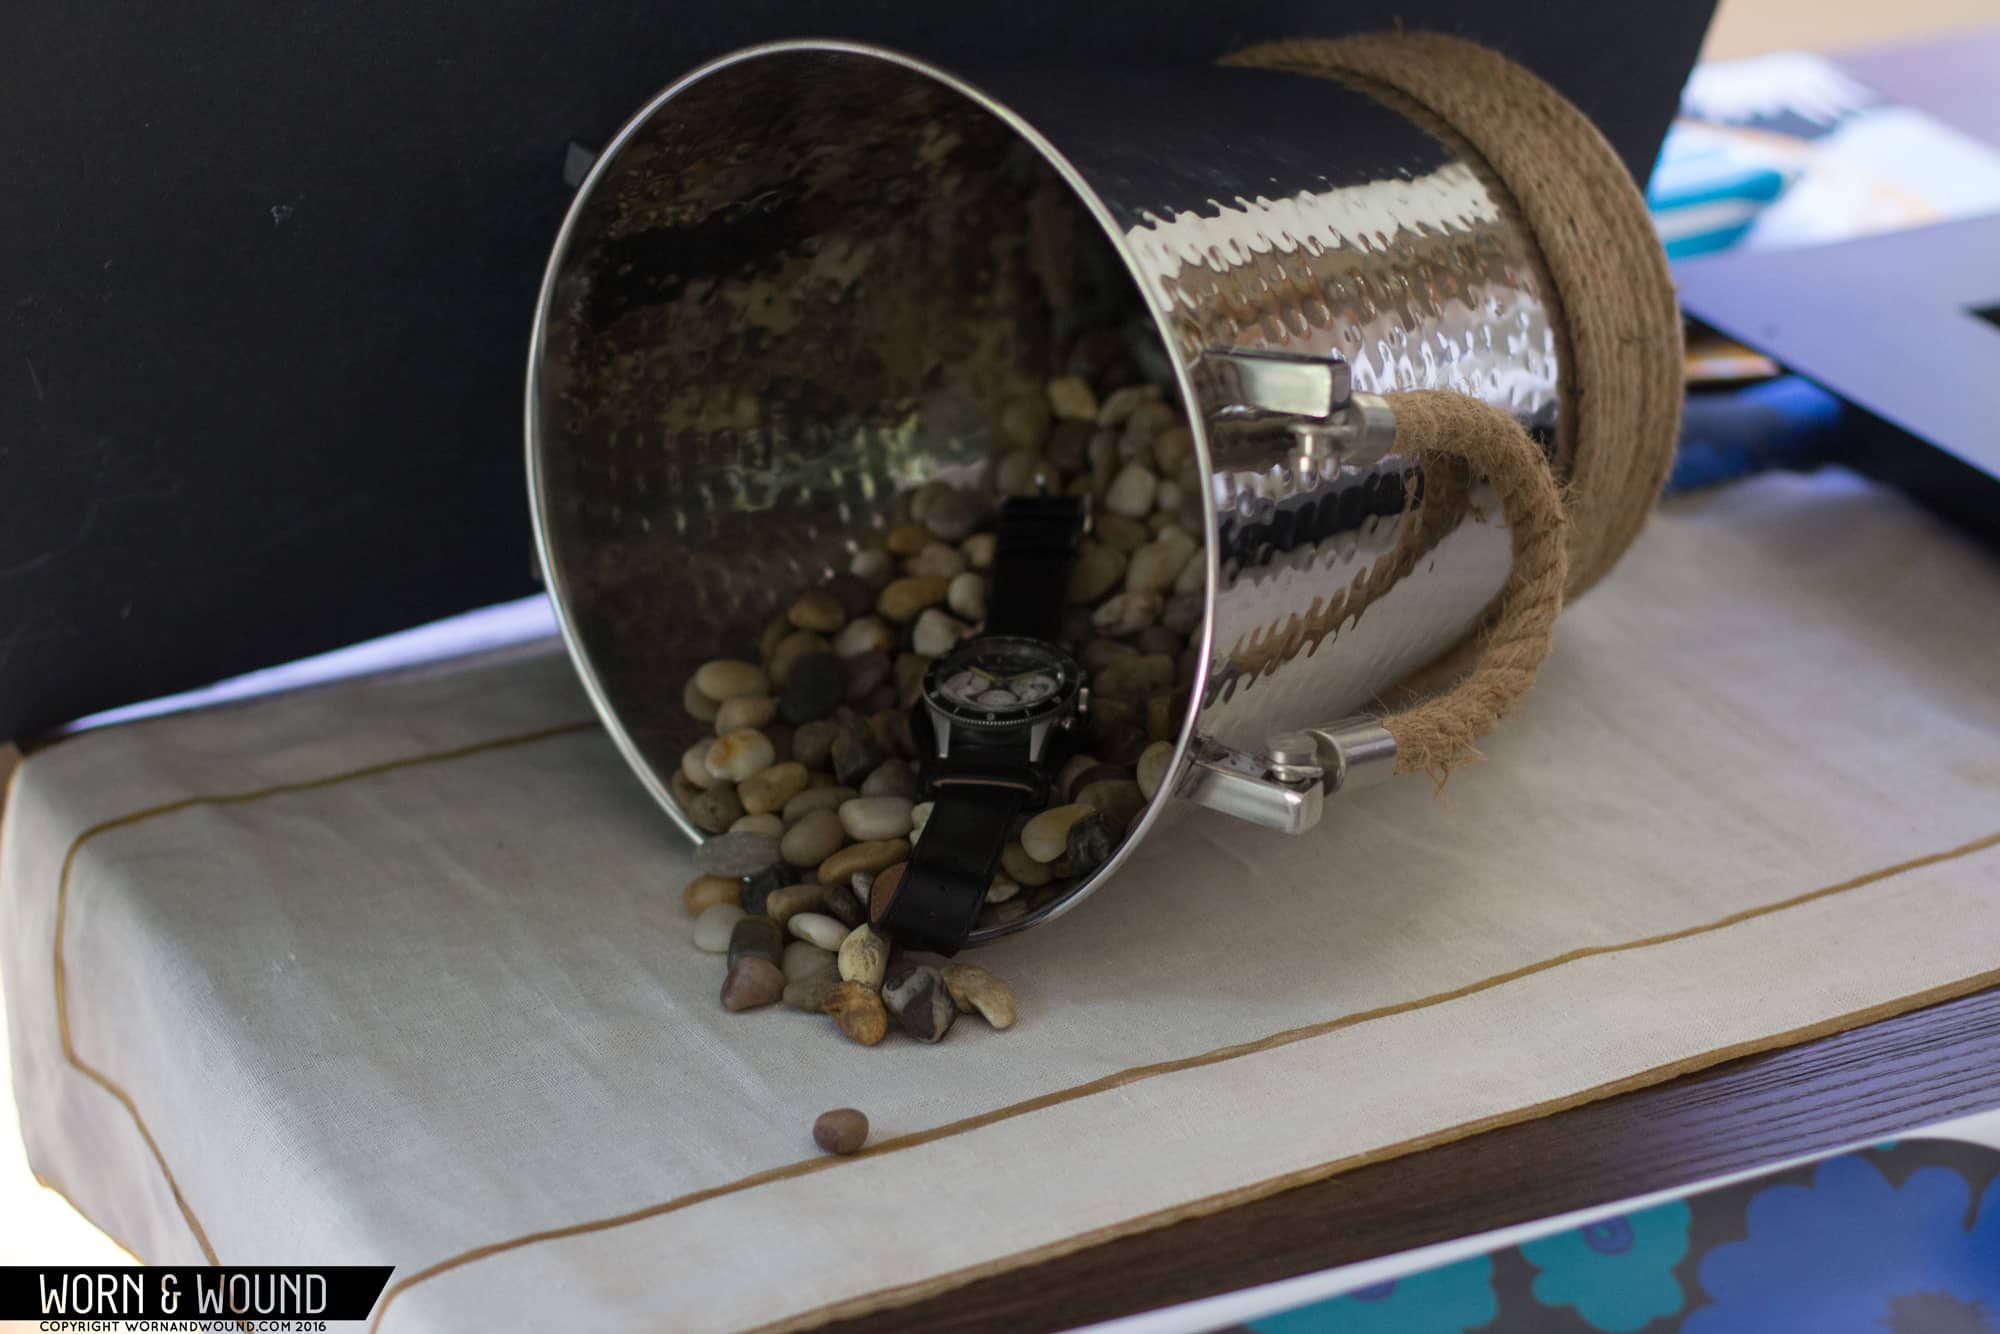
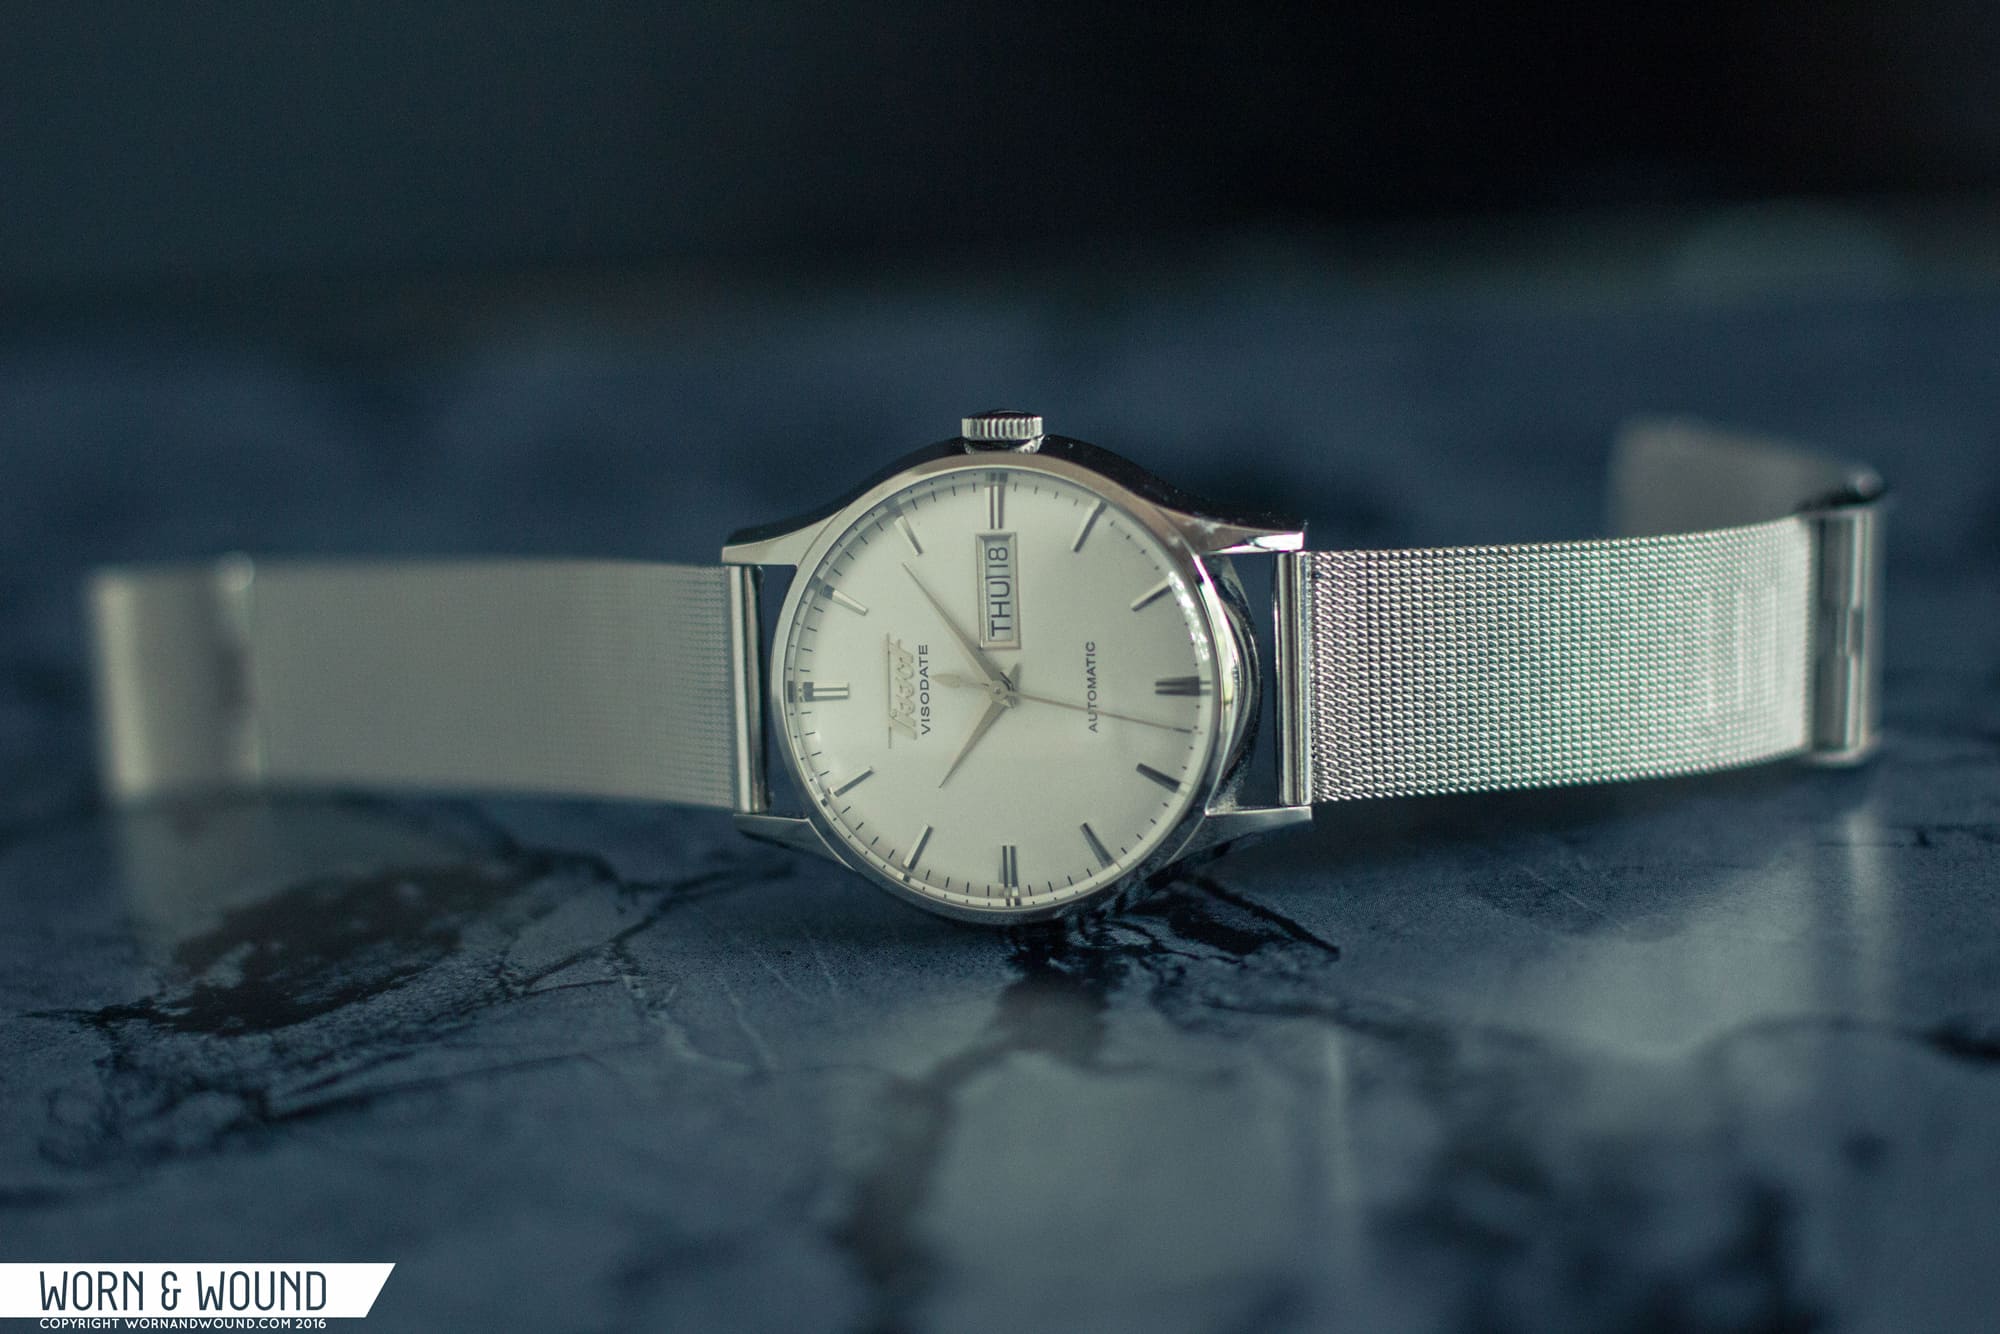
Other than lighting, depth of field is one of the most important things one can master in photography. But what is depth of field? To explain it simply, the depth of field is the zone of sharpness within an image. As you’ll see in most photographs, there is usually one subject or area that is sharp. This is meant to be the focal point. The areas surrounding this, be they in front of the subject or behind it, are generally out of focus. Take a look at the image below to see this in action.

The focus of this photograph is the lovely Tudor Pelagos LHD.

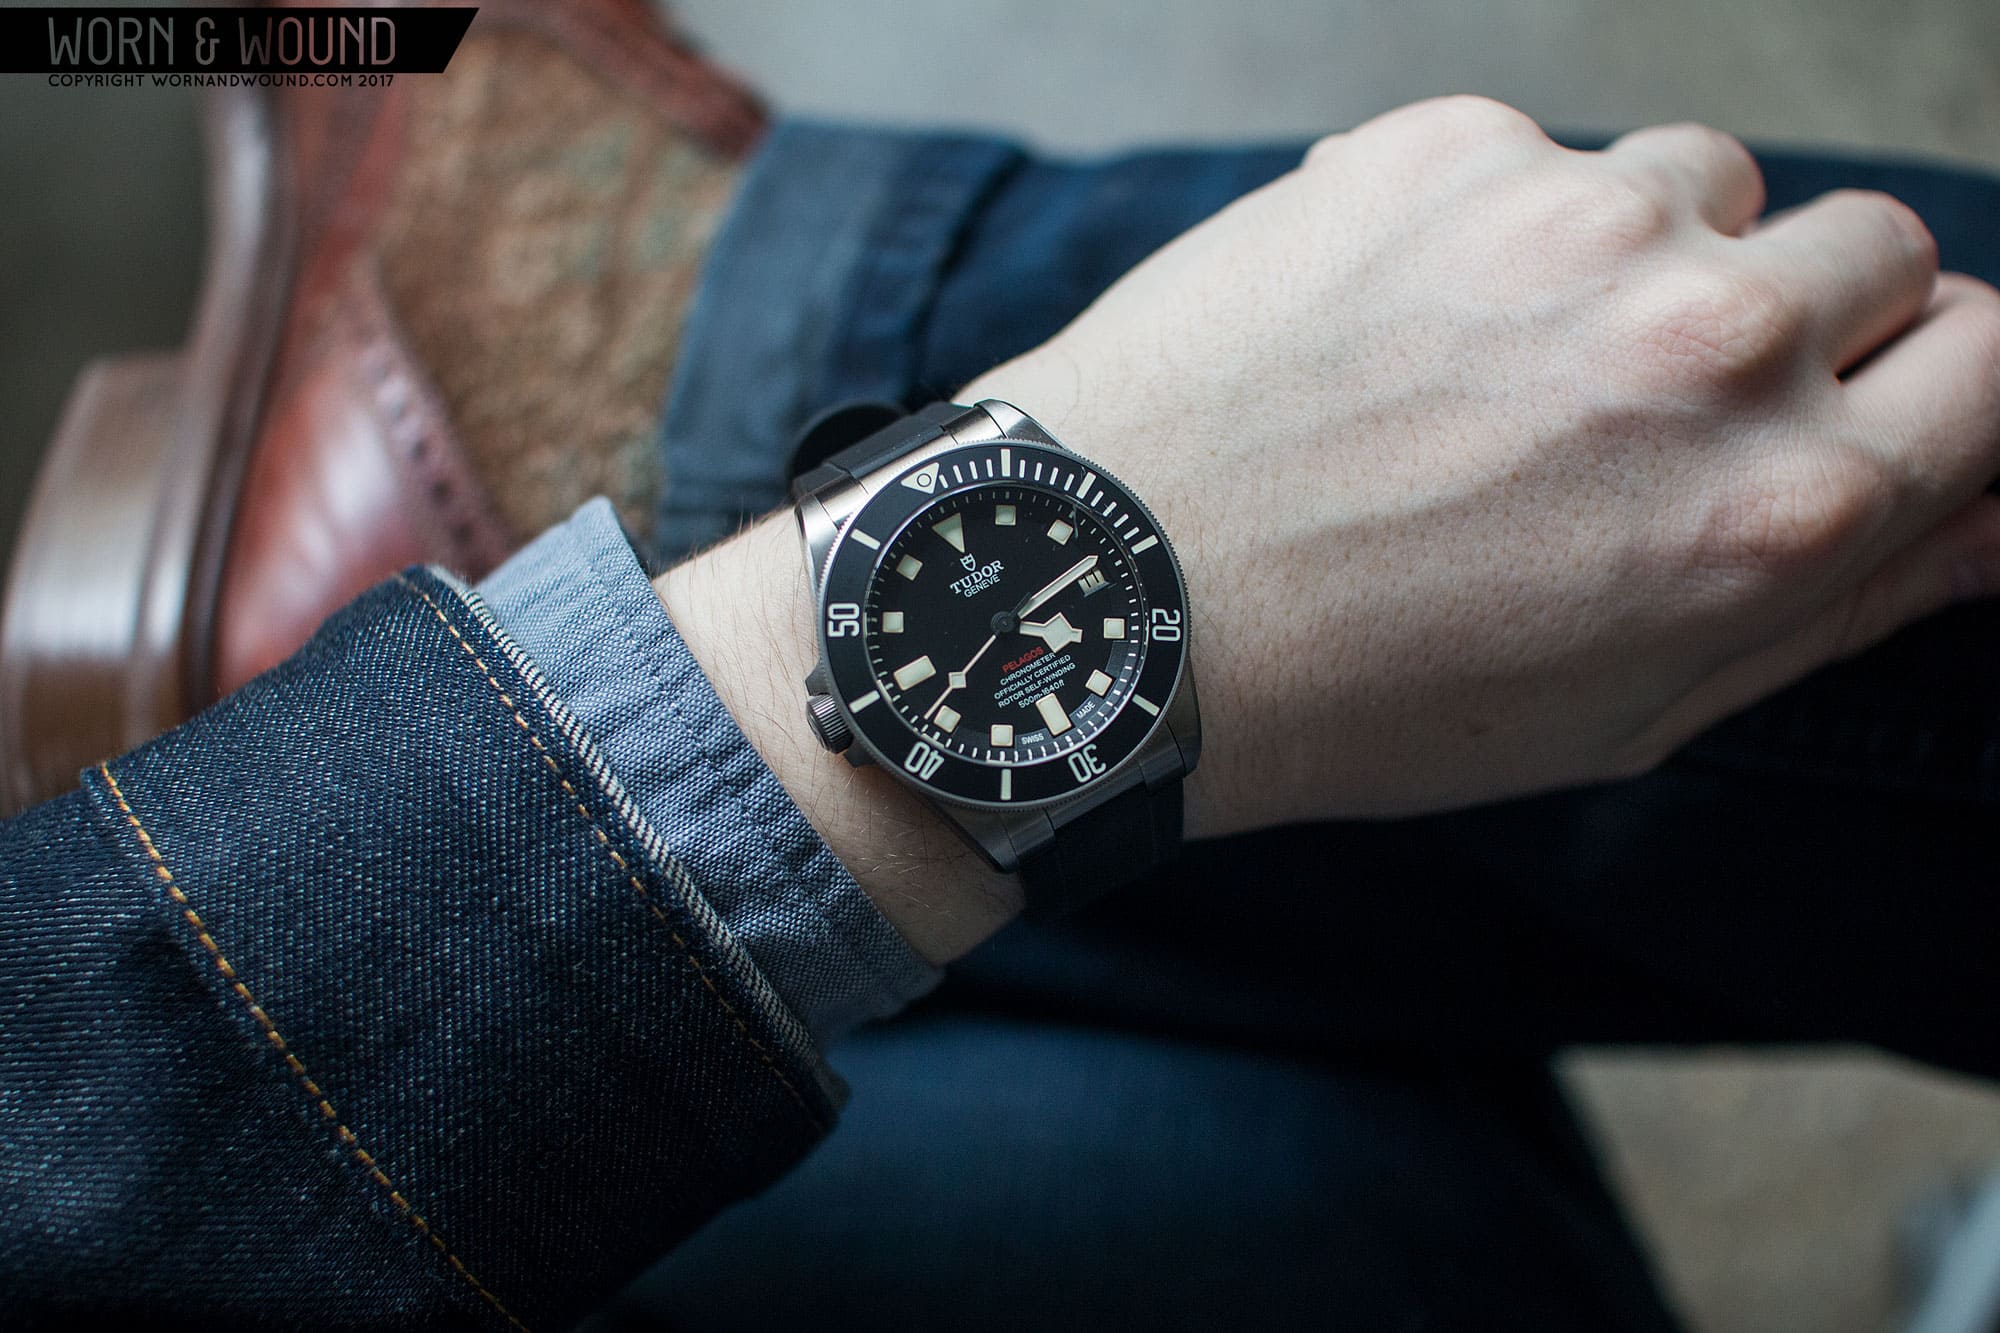
As you can see, the watch and arm are in sharp focus, while the rest of the image behind that is visibly softer (if there were also something closer to the camera in the shot, it too would be noticeably softer). This area of focus represents the depth of field, and in the example of the above photo, it is relatively shallow (shallow focus). If the entire image were sharp, however, the depth of field would be described as being much deeper (deep focus).

Save

Save

Save

Save

Save

Save

Save

Save

Save

Advertisement

How does one control depth of field in-camera? One of the ways is through the lens aperture, or the opening, represented by an f-stop number. Now, this is where it gets a little confusing. The smaller the f-stop number, the wider the opening. For example, a lens aperture open to f/1.4 is very wide (and if that’s the smallest f-stop that the lens is capable of opening to, then it is considered to be “wide open”). This results in a shallower depth of field. A wide open lens also takes in more light, since the opening is much larger.

Look at the photo below to see how f-stop impacts depth of field. From left to right, the f-stops are f/8, f/3.2, and f/1.4. At f/8, you can see that the opening is very small, and the resulting photo has a deeper depth of field with more of the background in focus. At f/1.4, the lens is wide open. Here the depth of field is much more shallow, with most of the background blurred.

One thing worth noting: as you go wider (again, a smaller f-stop number), you might encounter issues such as distortion, vignetting, and loss of detail sharpness.

There are a few other factors you should consider when playing with depth of field and focus. The first is subject-to-camera distance. If a subject is closer to the camera, you will get a more shallow depth of field. The second is the focal length of the lens itself. For example, a longer lens like a 200mm prime will achieve a shallower depth of field than a lens that is 50mm. And third, you have to consider the camera itself–or rather its sensor if you’re shooting digital. Larger sensors are capable of achieving a much more shallow depth of field. For example, a f/2.0 setting on a small point-and-shoot or smartphone will not create as much background blur as a DSLR with a larger sensor will at f/2.8, despite the lower f-stop on the point-and-shoot.

Being able to manipulate depth of field is in such high-demand that smartphone companies have developed optical wizardry and software tweaks to simulate what is traditionally done through the lens. Admittedly, these high-tech gimmicks are very hit or miss, but I recommend playing with them if they’re a feature on your phone or whatever camera app you use.

Save

Save

When you shoot with a wider aperture, you also get to consider bokeh. The definition of bokeh is the “appealing’ visual quality of the out-of-focus area. Beautiful bokeh usually exhibits pleasing circular artifacts, or “bubbles,” from light reflections. Below is a photograph of a Glycine Airman with very shallow depth of field and visually pleasing bokeh produced by the light bouncing off the branches in the blurred areas.

Also note that the sharpest area of focus is the logo.

Exposure, ISO, and Shutter Speed

In part one of our guide, we went over some basic lighting principles and techniques. Today, we’ll go over exposure. 90% of the time, I shoot in my camera’s “aperture” mode where I set the f-stop and let the camera do the rest of the work to correctly expose the image. But when I want greater control, I shoot in the “manual” mode. It takes some practice shooting in manual, but greater control often leads to a better end product.

Save

Save

I also generally set the ISO to the lowest possible setting to minimize noise, which is the visible grain in an image. Camera manufacturers often use digital boosting to allow for low-light photography, but the compromise is often more image noise. Of course, some cameras handle low-light situations better than others, but you generally don’t have to worry about this for our purposes since you’ll likely be working with natural light or with a light box.If you have your aperture set and you’re shooting with a lower ISO and you still need more light, you’ll have to play with the shutter speed. The shutter speed basically dictates how long the shutter is open and exposing the sensor to light. The longer it’s open, the more light the sensor gets. For example, if you’re shooting at f/7, you’ll likely need more light to compensate, so you’ll have to slow down the shutter to get it. This can result in a blurred image if you’re doing this freehand, so this is where a tripod comes in handy to minimize shakiness. Also, when you start shooting longer exposure images like this, you don’t want to catch the blurring of the sweeping second hand. To avoid this, I generally don’t go slower than 1/20th of a second.

If your image is still too dark, you can slowly increment the ISO up to an acceptable level. But again, be mindful of the noise. If the image is not coming together, you may just need additional external light for your shot.

Save

Save

Advertisement

JPEG/RAW

If your device can support it, shoot in RAW. A RAW file is the unprocessed image as seen by the camera. Raw files are often many times larger in size than JPEGs, which are compressed image files. As a result, RAW files are rich with data and make editing much easier later on. Conversely, the major downside to shooting in RAW are the larger file sizes. If you’re short on hard drive space, then go with JPEG.

Macro Photography

Macro photography can be expensive since you’ll have to buy dedicated lenses.  Since I don’t do much macro photography, I prefer to stick to my smartphone and some cheap solutions when I do. As I wrote in worn&wound’s 2016 holiday gift guide, I use a clip-on macro lens for my phone that is relatively inexpensive, and the results are often very good. You’ll have to play with different lenses to see which work best with the unique optical qualities of your phone or tablet.

Macro photography doesn’t have to be expensive…
…and if you have a smartphone you won’t need too much extra gear…
…to achieve images like this.

Reflection and Glare

Inevitably, you will come across unwanted glare and reflections when photographing your watch. Due to the fact that watch dials are covered by a crystal, glare will always be a challenge. Below, you can see a photo of my white-dialed Tissot Visodate, which can be very difficult to photograph.

Some obvious glare…
..and now the glare is largely gone.
Controlling reflections in the crystal of my black-dialed Urban Undone chronograph with a simple rig anyone can make.

There are several ways to overcome this without getting into retouching. First, you can shoot at an offset angle. Second, you can use a polarizer filter which reduces glare. And third, you can use a go-between you and the watch. My go-between is a sheet of paper with a cutout for the lens. You can also build a simple rig to offset reflections. As you can see in the above image, I made one using cheap, large cardboard presentation boards that can be found in most art supply and dollar stores.

And the results look like this.

Staging

If you look carefully at some of the photos in this article, you’ll notice that the watches are staged against a background. Staging is merely the technical term for dressing up a scene. The Urban Undone chronograph, for example, is placed on a decorative roll of marbled paper I found at a crafts stores. If you pay attention to Pinterest boards and popular flat-lay Instagram feeds, you’ll see that those photographers often use rolls like the above or actual tiles and wood flooring to achieve this effect. The latter you can pick up at your local hardware store.

So much to play with!

You can use just about anything to stage a scene. Here, I use an ice bucket and some garden stones to great effect.

Save

Save

And here’s the simple behind-the-scenes setup.

Here’s another fun staging trick I picked up. You can use Glycerine, an ingredient in hand sanitizers, to stage dive watches. Food stylists use Glycerine all the time to carefully craft mouth-watering images of ice-cold beer bottles in commercial advertising. The Glycerine, carefully dropped in, forms wide droplets that mimic water. They also take a while to dry, so it’s great for longer photo shoots. Here’s one example with my Seiko “Turtle” SRP775. And once again, the very simple setup. The last tip I will share in this article has to do with using high-speed shutter flash photography to create dramatic water shots. This combines many of the elements discussed in this article.

The photograph below was done in a bathtub in darkness. I relied on my camera’s on-board flash to illuminate the shot. My shutter speed was set to 1/200th of a second along with the flash. The aperture then was set to f/2.8, which gives you some nice blur and bokeh. The color grading is due to the flash confusing the white balance. To achieve these shots, you simply have to place the watch down and turn up the faucet, but you will have to experiment with different rates of water flow and shutter speed to get it right. Along with the Glycerine trick, these are what we call practical effects in the trade.

Now go out, experiment, and most of all have fun!

Save

Save

Advertisement
Related Posts
As a collector who splurged during the glorious dotcom 1.0 days, Hung acquired a sizable collection of Swiss watches. Now married with two kids and a mortgage, his watch tastes and pursuits are more down-to-earth. His other interests involve design history, technology, and collecting Star Wars Action figures. He brings a seasoned perspective to the Worn & Wound team. Hung grew up and lives in the San Francisco Bay Area.
Categories: